The Americans with Disabilities Act prohibits discrimination in the places of public accommodation – such as schools – and failing to transcribe or provide closed captions for your educational videos can be seen as a violation of the ADA. So transcripts and captions have legal significance. But beyond that, they help your students access your educational videos. And meaningful access is the ultimate goal.
To that end, the video platforms available at WPI, such as Echo360, Ensemble and Studio, all have mechanisms for creating closed captions.
You can skip to the directions for each platform here:
But before you do, you might be interested in some definitions.
A transcript is the textual representation of what is said during a video. An interactive transcript presents as a block of text that scrolls along with the speech in your video.
Closed captions are smaller segments of the transcript that are overlaid on the video in synchronization with the spoken word.
-
Echo360
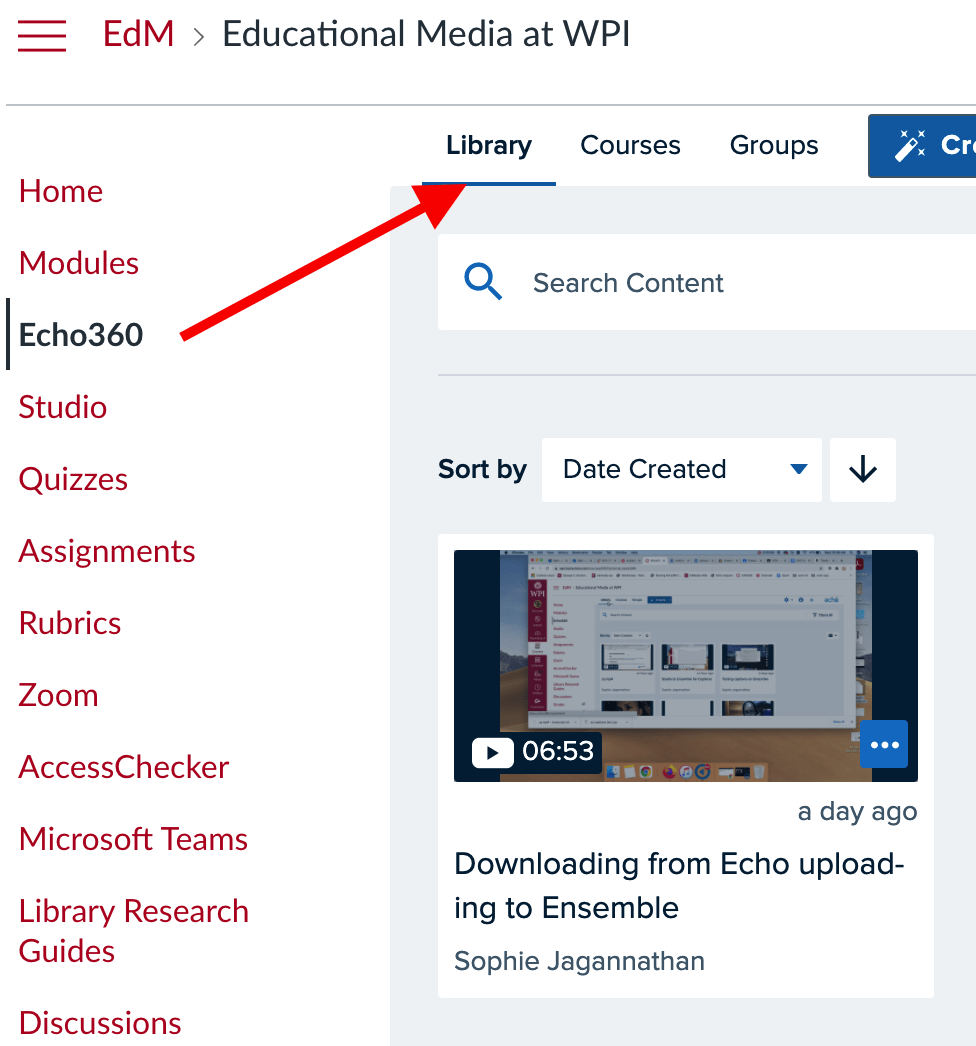
Users of Echo360 will notice that their videos are automatically transcribed. Transcriptions take a minimum of 30 minutes – so don’t be surprised if they take a while to be available. Once available, a megaphone/lined piece of paper icon shows up in the Echo360 player window, as in the image below.

To turn this into closed captions, first access the transcript editor. To do this, go to your Echo360 library and find the video for which you want to generate the captions. If you hover over the bottom right of the video thumbnail you’ll see a blue box. Click on it. Choose “More Actions” and then “Edit Transcript.”
Here, in the transcript editor, you’ll notice the “Apply to CC” button. (If it’s greyed out, it means that your transcript isn’t done processing yet. Check back later.) By clicking “Apply to CC”, you’ll enable the closed caption button in the player.
![]()
Students viewing the video in Canvas can turn on the captions by clicking the CC button on the bottom right of the player.

-
-
Ensemble
Users of Ensemble video who want to create closed captions for their videos have to upload a caption file to affiliate with the video. This often means uploading that video to another location, like Echo360, YouTube or Studio in order to generate a caption file which can then be downloaded and uploaded to Ensemble. The types of caption file that Ensemble accepts are vtt or xml.There are a couple of ways you can do this with WPI’s tools. One way is to upload that video file for which you want to generate captions into Echo360. Echo360 will generate a transcription file. You do have to wait for it, as I said above. But once it’s done, if you click on Edit Transcript, you can export the transcript.
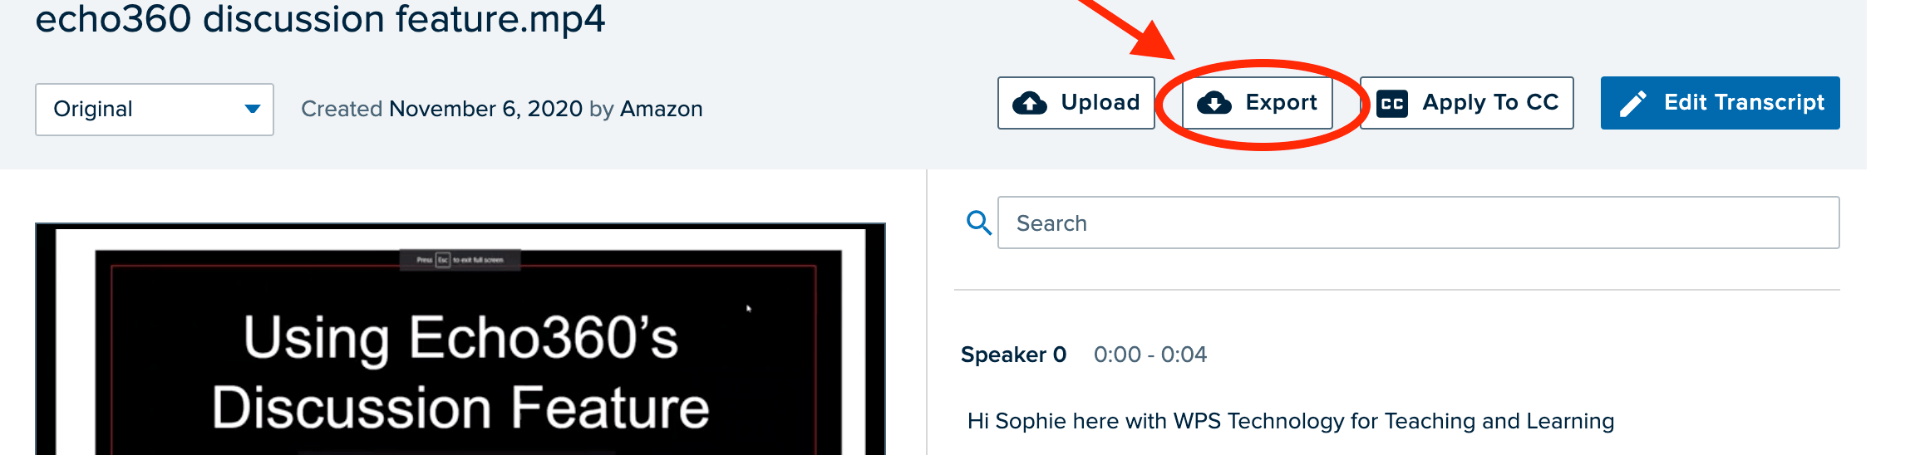
An exported Echo360 transcript is a .vtt file that can then be uploaded to Ensemble. Similarly, you can download captions from Studio. Studio creates a .srt file, but this can be converted to .vtt using the tool here.Once you’ve got the .vtt file, go to your Ensemble library. To the right, you’ll see options such as edit, manage, publish and delete. Click Manage.
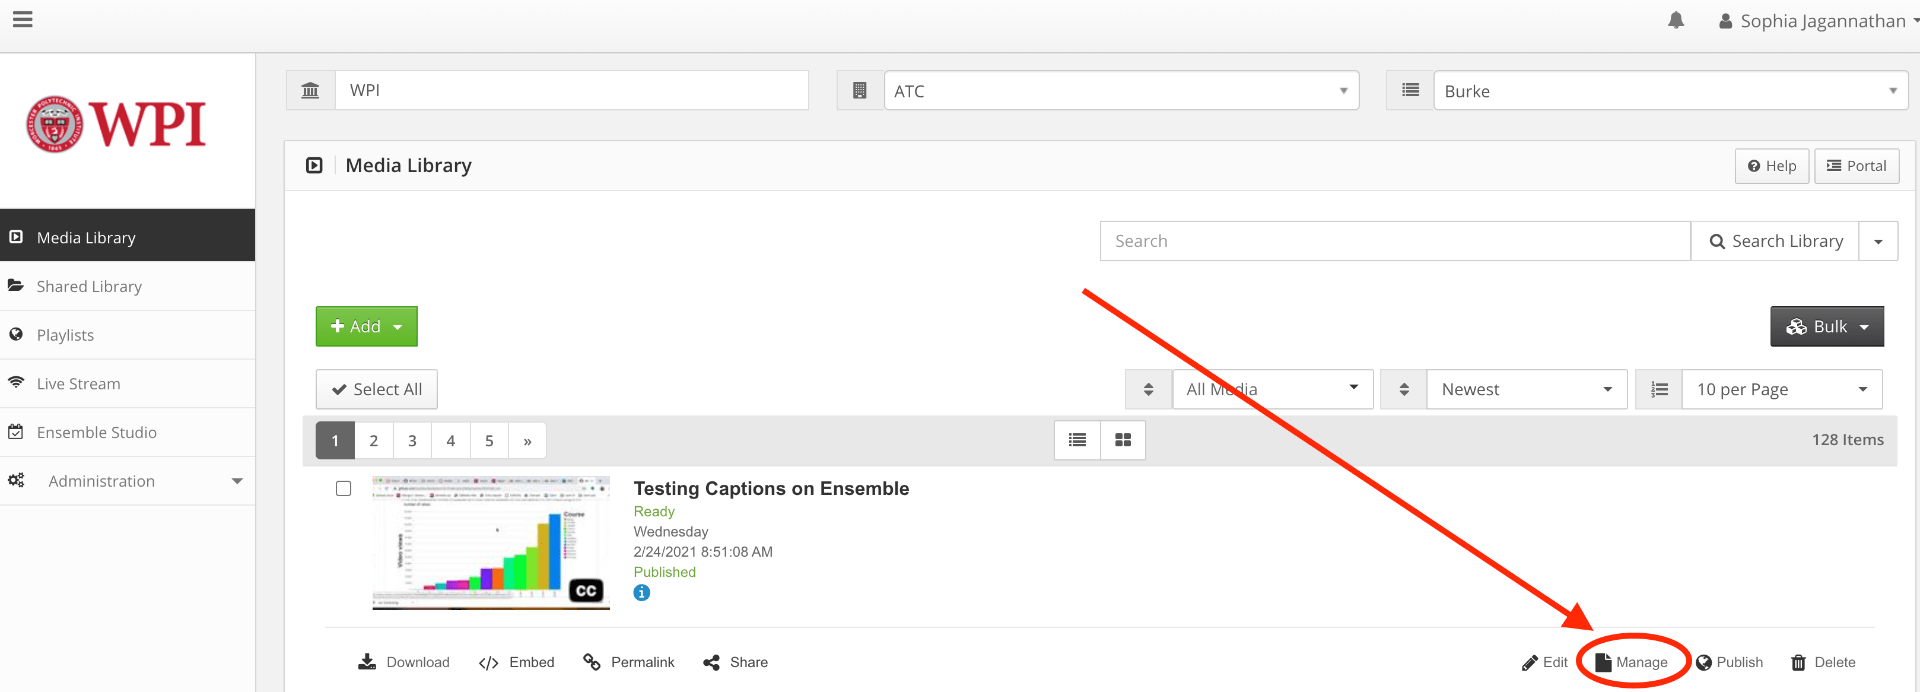
Click on Caption on the top right.Choose to upload a caption file. First click add file and add it into the upload box, then click Start Upload. Let it upload, and then click the green Continue box. On the next page, click the green box marked Publish.

Now, your students will be able to turn on the closed captions when they see the video in Canvas.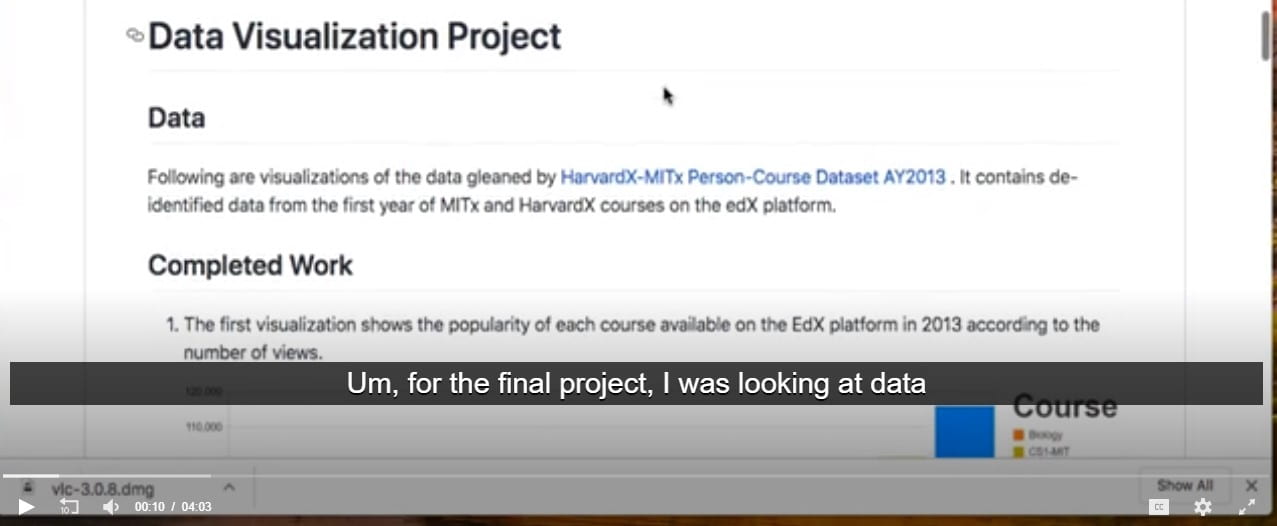
-
-
-
-
Studio
Studio, a video platform within Canvas, has a very easy system for creating captions. And it’s fast. For every video you upload or create using Studio’s screen capture tool, you can request closed captions.
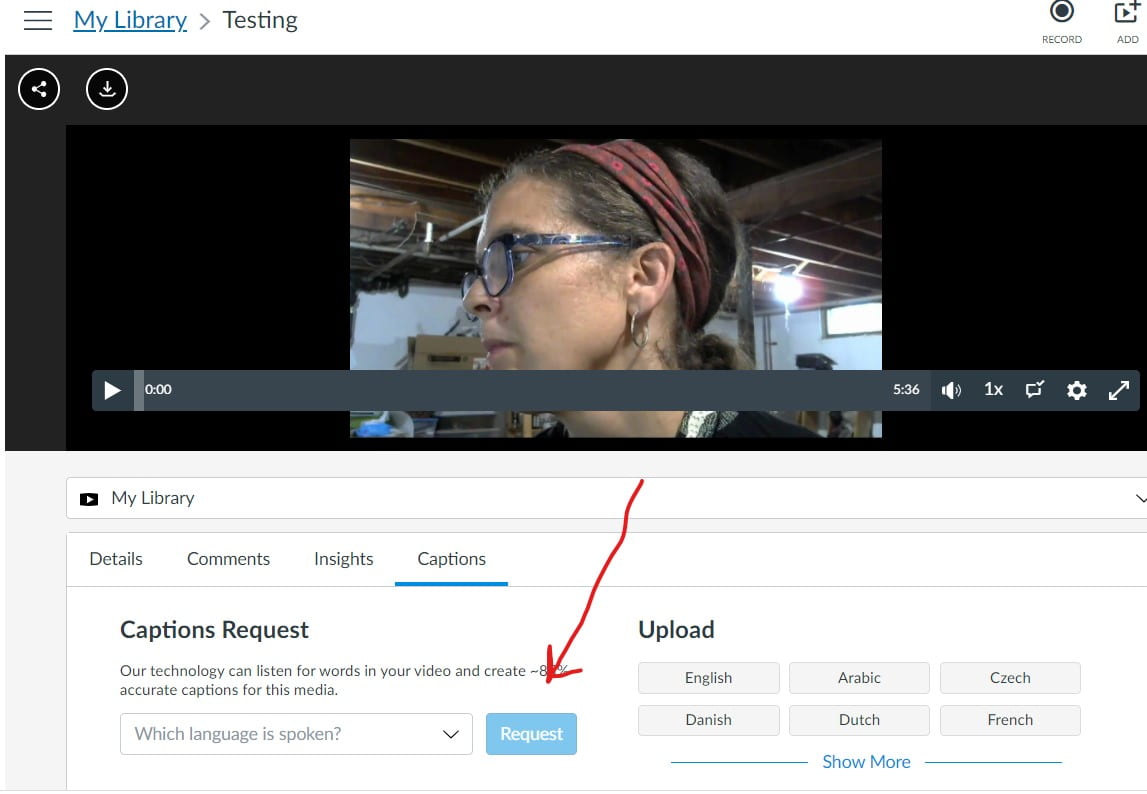
Here’s how it works. Go to your Studio library. Find the video for which you want to generate captions. Click on the video. Below the player, you’ll see a few options. Click captions. Here you can make a request for captions in the language that is spoken in the video.
You’ll receive an email notifying you when the captions are done processing. At that point you can go back into Studio and review and publish the captions. Once you’re satisfied with their accuracy, publish them. Studio’s captions look like the below. They are positioned at the top of the frame.

-
-
If you have any questions about creating Closed Captions for your educational videos at WPI, please email us at atc-ttl@wpi.edu.