Blog post updated 1/9/24
Echo360: Recording from Home or Office
Echo360 can be used to create video from your home or office.
If you go to the Echo360 area of your Canvas course site, you’ll notice a pink Create button.
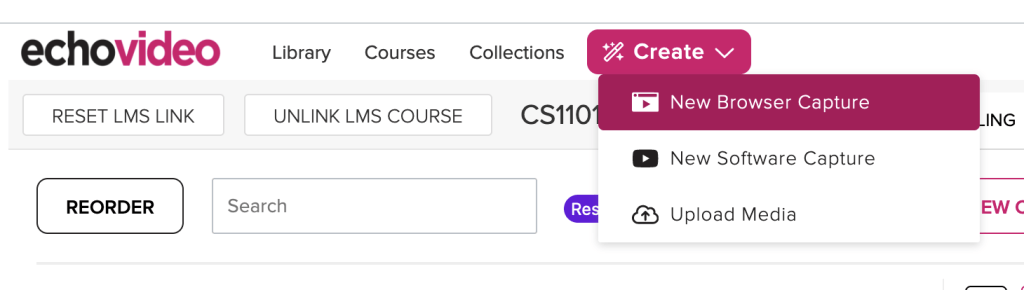
If you click on New Browser Capture, you can create a recording with the browser based version of Echo360’s creation app, which is called Universal Capture.
If you click on New Software Capture, you can download Universal Capture and create videos when you’re not connected to the internet.
The browser-based and installed versions of Universal Capture work similarly. The major differences are the offline availability and also the ability to live stream; both are only possible using the installed version of Universal Capture – when the user is connected to the internet.
While you won’t have to login if you are using the browser capture – because you’ve already logged into Canvas – you will if you’re using the installed version. Logging in tells the program where to upload the video once it’s done: your library on the Echo360 platform.
Once logged into Echo360 Universal Capture, you’ll see your name on the top right.

Before you start recording, you’ll need to fill in some capture details. On the top left of the interface, you’ll see Edit capture details.

In Capture Details, you’ll name your video. You’ll also decide where you want your video to go once you’re done recording it.
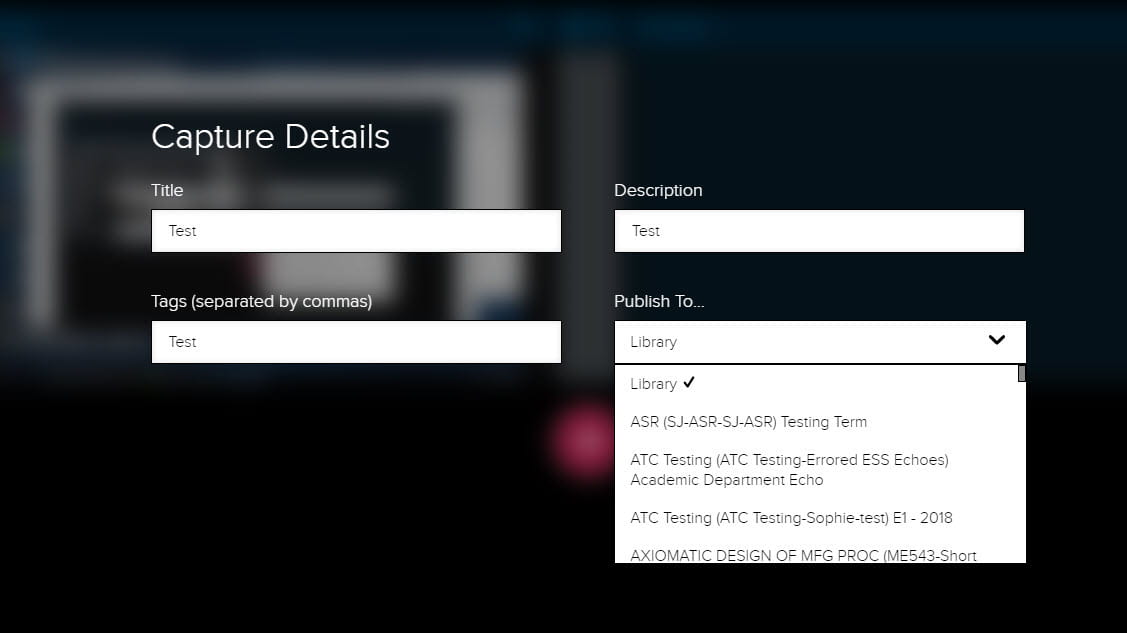
With Universal Capture, recordings are not stored on your hard drive. So in the “Publish To” field, you can select to publish it directly to your course site or to your personal library. If you choose to publish to your library, see this link (Links to an external site.) for info on how to connect the file from your library to your course site. If you want to stream live, you need to publish to your course section and check the box for live stream. The live stream and the recording will be accessible via the Echo360 tab of your Canvas course site.
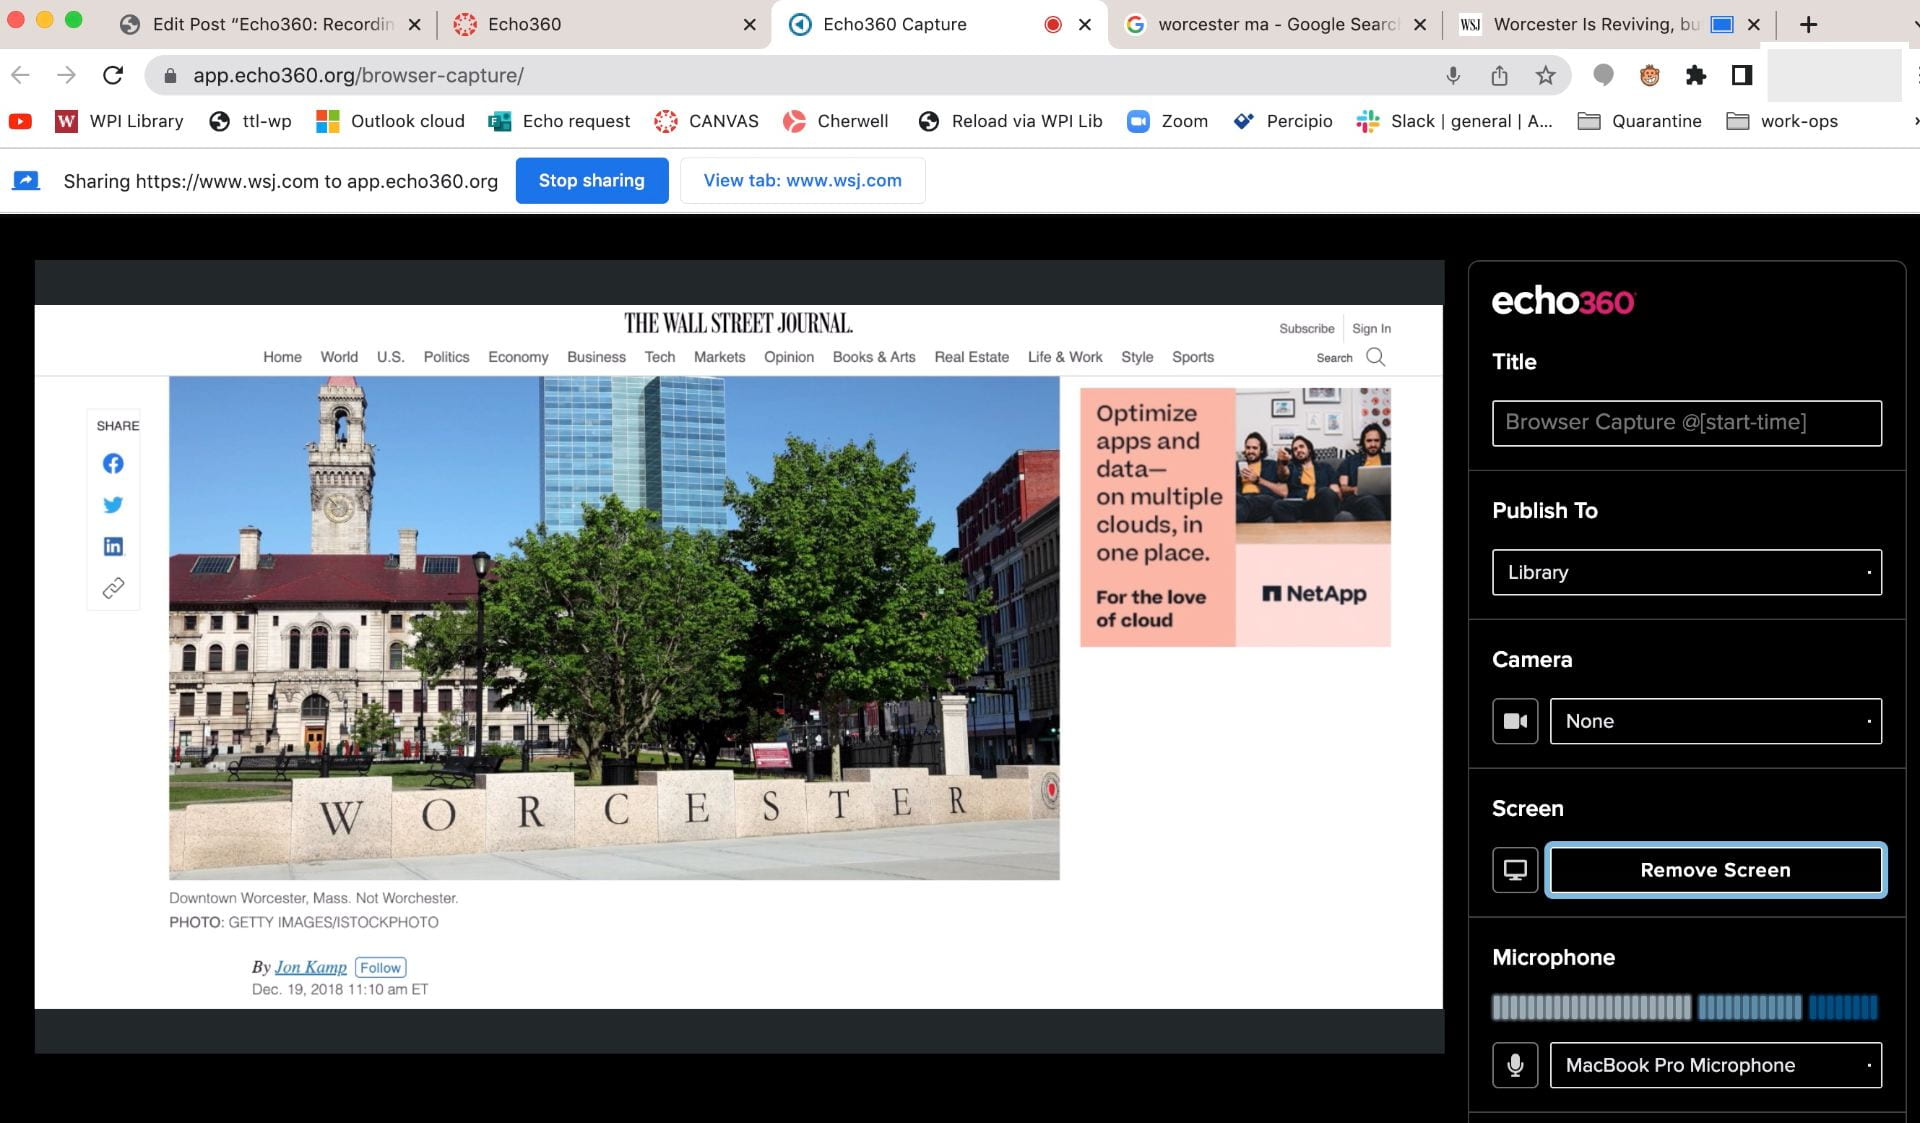
Now that you’ve set up the meta-data and the upload location of your file, it’s time to start recording. The recording interface looks like the below.

You’ll need a microphone connected into your system. The display windows show whatever computer monitors or webcams are detected by the software.
Many people choose to record both a camera video of themselves, especially for introduction videos, and their screen. Some choose to record just the computer screen while they narrate/annotate. There are lots of creative options for you!