Closed captions are the text version of what is being spoken during a video, displayed in short, readable segments. All Echo360 videos have a closed caption track. This means that should a viewer want to turn on the closed captioning for a course video, they will have that option. This post provides more information about closed captioning in Echo360 and how to edit them for accuracy.
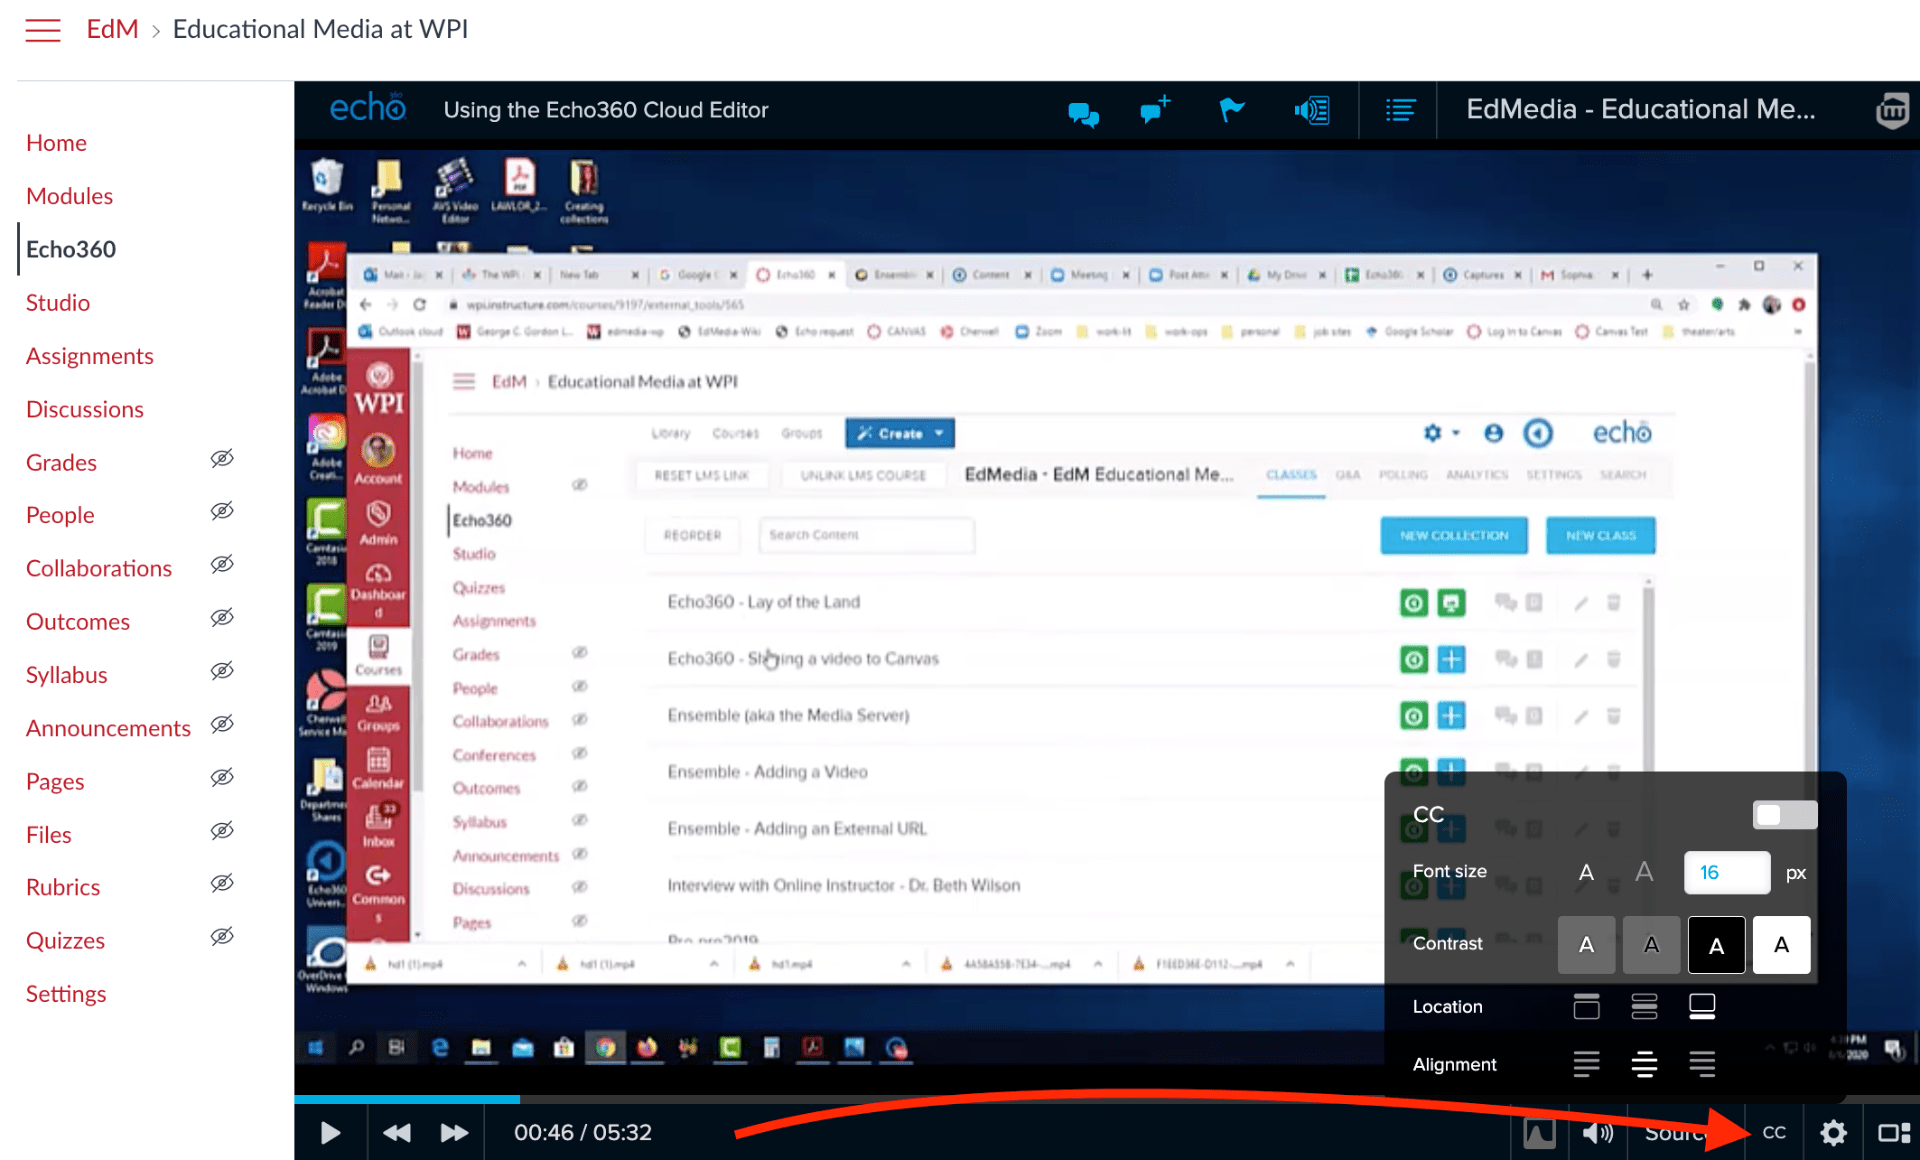
These captions are derived from the transcript. The transcripts are created by an automated speech recognition system. All videos that are uploaded or transferred to Echo360 will go through the automated speech recognition system as part of its pre-playback processing.
To make the transcript for your Echo360 video accurate, you might want to peruse the transcript and edit, if necessary. You can also delegate a TA to do this job for you.
To edit the transcript for an Echo360 video, first log in to Echo360 either through the platform (https://echo360.org) or via your Canvas course site.
Once there, navigate to your personal library.
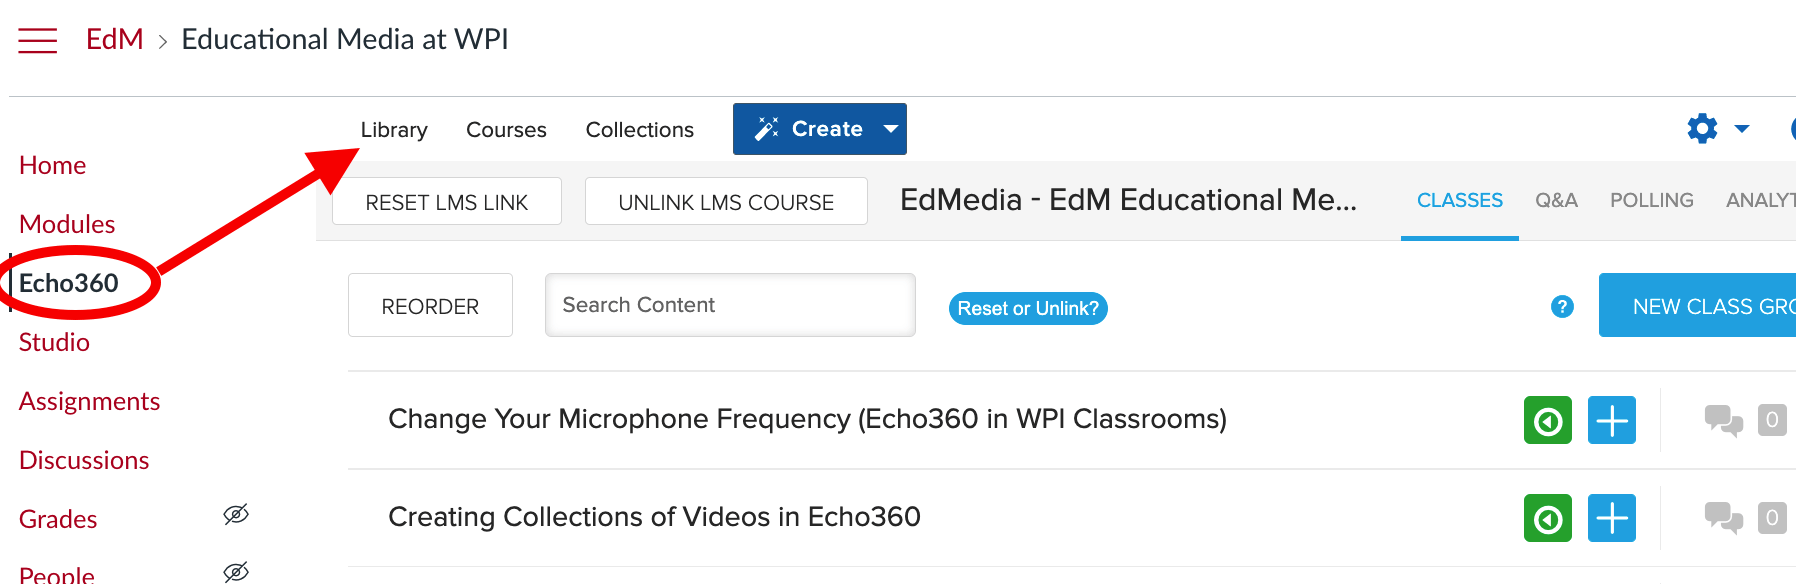
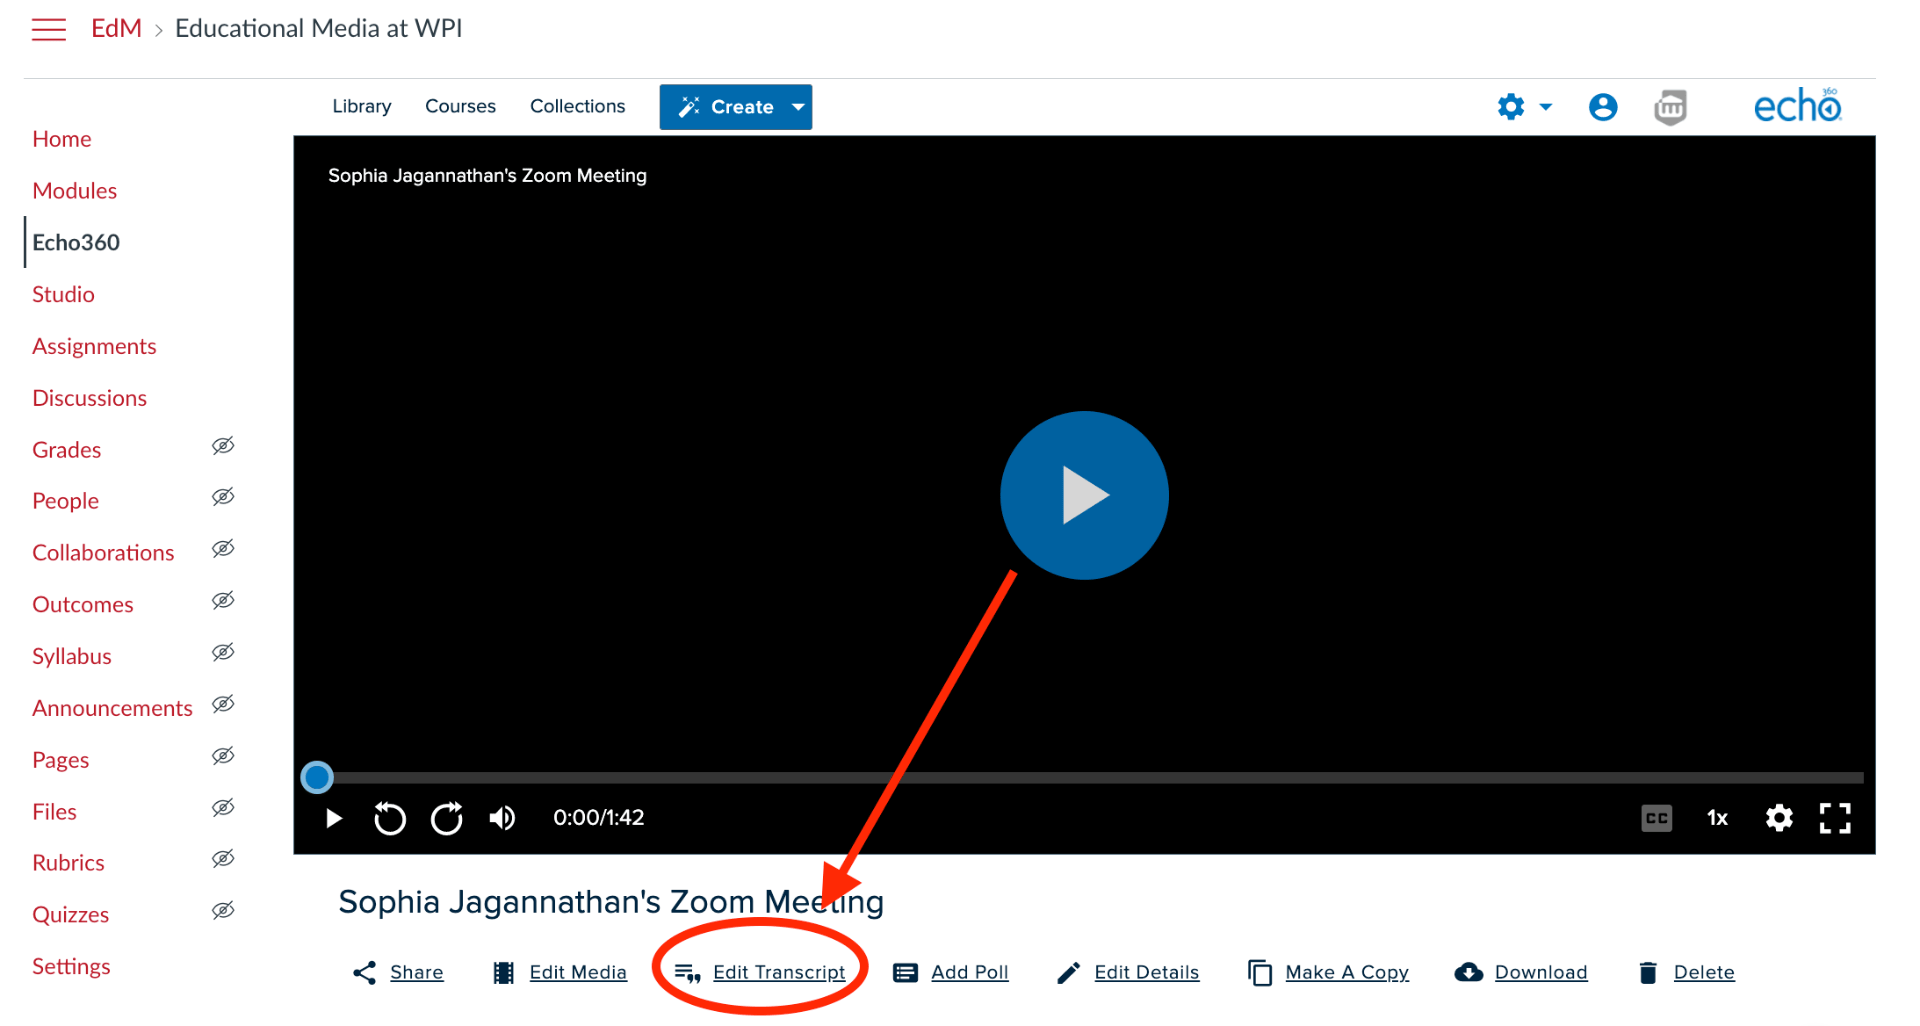
From your personal library, find the video for which you want to edit the transcript and click on it.
Below the player window you’ll see options. Click “Edit Transcript.”
Once in edit mode, click the blue Edit Transcript button on the top right.

Find the transcript snippet you want to edit and conduct the edits in the edit pane on the right. In this example, the transcript thought I said “wella”. Close guess. It was actually “voila!” So I’m going to fix that.

But you can see that although I’ve changed it in the editing pane, it’s still not on the closed caption track.
To fix that, click “Save as New Version”. Then, apply the new version to the closed caption track.

Closed captions are required for ADA compliant videos. In addition to making your learning materials accessible for the deaf/hard of hearing community, they are a great way to enhance multi-modal learning.
For more information about closed captions and transcripts, check out the links below.
If you have any questions please reach out to us at the Technology for Teaching and Learning team: atc-ttl@wpi.edu.